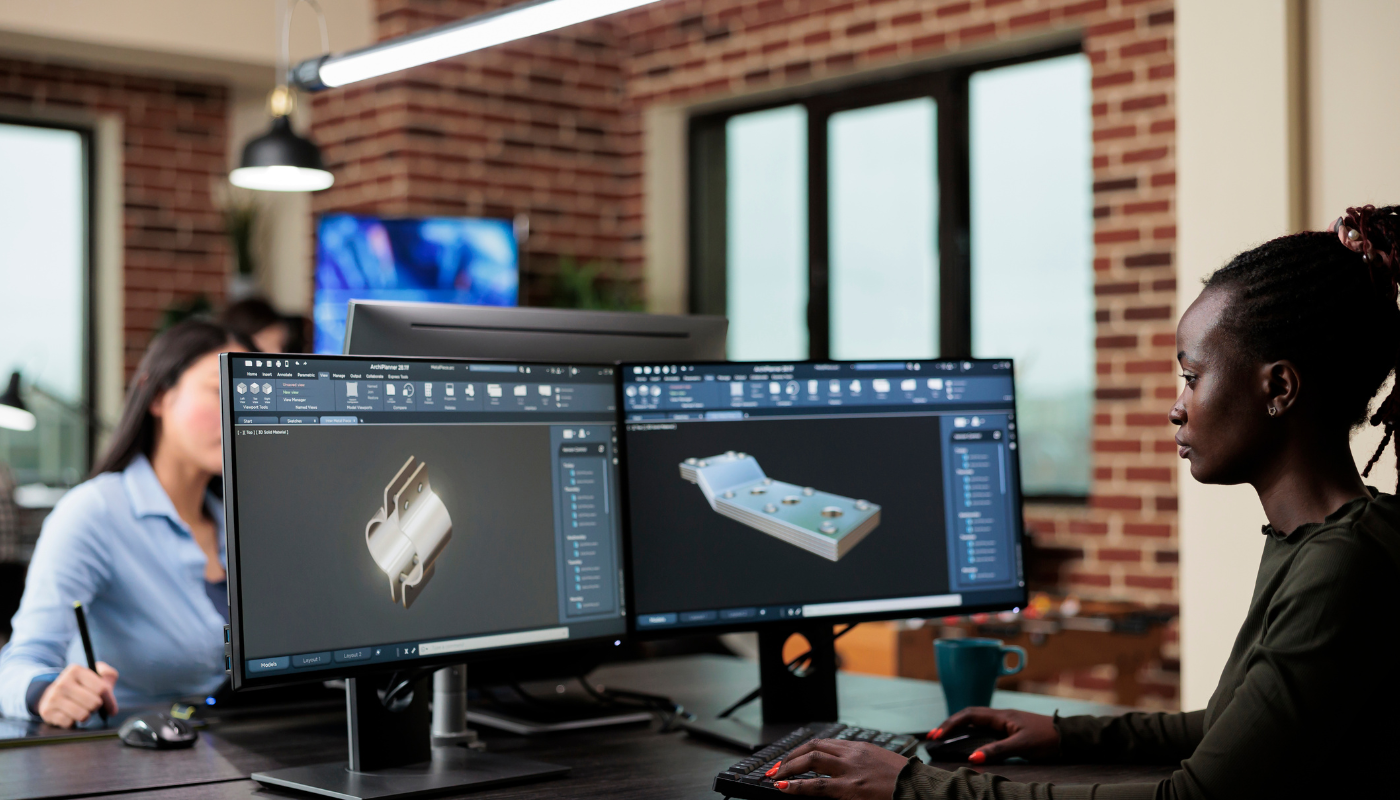
Creating 3D models from 2D drawings is a powerful technique that allows designers, artists, and engineers to bring their ideas to life. This process can open up a world of creative possibilities, from product design and architectural visualizations to digital art and animations. In this post, we’ll explore the step-by-step process of transforming a simple drawing into a fully-fledged 3D model, covering the essential tools, techniques, and best practices.
Understanding the Basics of 3D Modeling
What is 3D Modeling?
3D modeling is the process of creating a digital representation of a three-dimensional object or scene using specialized software. This digital model can then be used for various applications, such as 3D printing, virtual reality experiences, or integration into larger projects like games, animations, or architectural visualizations.
Tools and Software for 3D Modeling
There are a wide range of 3D modeling software available, each with its own unique features and capabilities. Some of the most popular and widely-used tools include AutoCAD, Blender, Maya, 3ds Max, and SketchUp. These programs offer a variety of modeling techniques, from basic polygon-based modeling to more advanced NURBS (Non-Uniform Rational B-Splines) or subdivision surface modeling. The choice of software will largely depend on the specific needs of your project, your level of expertise, and personal preferences.
Different Types of 3D Models
3D models can be classified into several categories, each with its own characteristics and use cases:
- Mesh Models: These are the most common type of 3D models, consisting of a network of vertices, edges, and faces that define the shape of the object.
- NURBS Models: NURBS (Non-Uniform Rational B-Splines) models are based on mathematical curves and surfaces, which can create smooth, organic shapes with high levels of precision.
- Subdivision Surface Models: These models use a process of subdividing a simple mesh into a more complex form, allowing for detailed and smooth surfaces.
- Voxel Models: Voxel models represent 3D data as a grid of cubes, similar to how pixels represent 2D data. These models are often used in medical imaging and scientific visualization.
Each type of model has its own strengths and weaknesses, and the choice will depend on the specific requirements of your project.
Preparing Your Drawing for 3D Conversion
Analyzing Your Drawing
Before you begin the 3D modeling process, it’s essential to carefully analyze your 2D drawing. Consider the level of detail, the complexity of the shapes, and the overall design. Identify any potential challenges or areas that may require special attention during the 3D conversion.
Scanning or Digitizing Your Drawing
To create a 3D model from a 2D drawing, you’ll need to convert the physical drawing into a digital format. This can be done by scanning the drawing using a high-resolution scanner or by photographing the drawing and converting it into a digital image file, such as JPEG or PNG.
Cleaning Up Your Digital File
Once you have your digital drawing, you may need to clean up the file to ensure it’s ready for the 3D modeling process. This may involve removing any unwanted elements, adjusting the contrast and brightness, or even tracing the drawing using vector graphics software to create a clean, scalable image.
The Process of Creating a 3D Model
Importing Your Drawing into 3D Software
With your digital drawing ready, the next step is to import it into your chosen 3D modeling software. Most programs will allow you to import various image formats, such as JPEG, PNG, or SVG, and use them as a reference for creating the 3D model.
Using 3D Modeling Techniques
Once your drawing is in the 3D software, you can begin the process of creating the 3D model. Depending on the complexity of your drawing, this may involve a range of techniques, such as:
- Extrusion: This technique takes a 2D shape and extends it into the third dimension, creating a 3D object.
- Revolve: This method rotates a 2D shape around an axis to create a 3D object, such as a vase or a bottle.
- Subdivision Modeling: This approach starts with a simple 3D shape and progressively subdivides it to create more complex, detailed forms.
- NURBS Modeling: This technique uses mathematical curves and surfaces to create smooth, organic shapes with a high level of precision.
The specific modeling techniques you use will depend on the complexity of your drawing and the desired outcome of your 3D model.
Adding Textures and Colors
Once you’ve created the basic 3D shape, you can enhance the model by adding textures, colors, and other visual details. This can involve applying materials, creating custom textures, and adjusting lighting and shading to bring the model to life.
Conclusion
Transforming a 2D drawing into a 3D model is a powerful and versatile skill that can open up a world of creative and practical possibilities. By understanding the fundamentals of 3D modeling, mastering the necessary tools and techniques, and carefully preparing your drawing for the conversion process, you can create stunning, high-quality 3D models that bring your ideas to life. Whether you’re a designer, an artist, or an engineer, the ability to turn a simple drawing into a 3D model is a valuable asset that can elevate your work and unlock new avenues for exploration and innovation.

Passionate game developer and writer with more than five years of industry experience. He has a solid foundation in programming and game design, focusing on indie development, emerging technologies, and design principles. Ryan’s writing is geared toward helping developers, from beginners to veterans, with practical advice and creative inspiration, making complex concepts accessible and inspiring new approaches to game creation.

